
Rolling Pin Types: Handled, Straight and Tapered
Compare handled, straight and tapered rolling pins. Learn how to roll cookie dough evenly, shape a round pie crust and fix sticking or uneven edges.

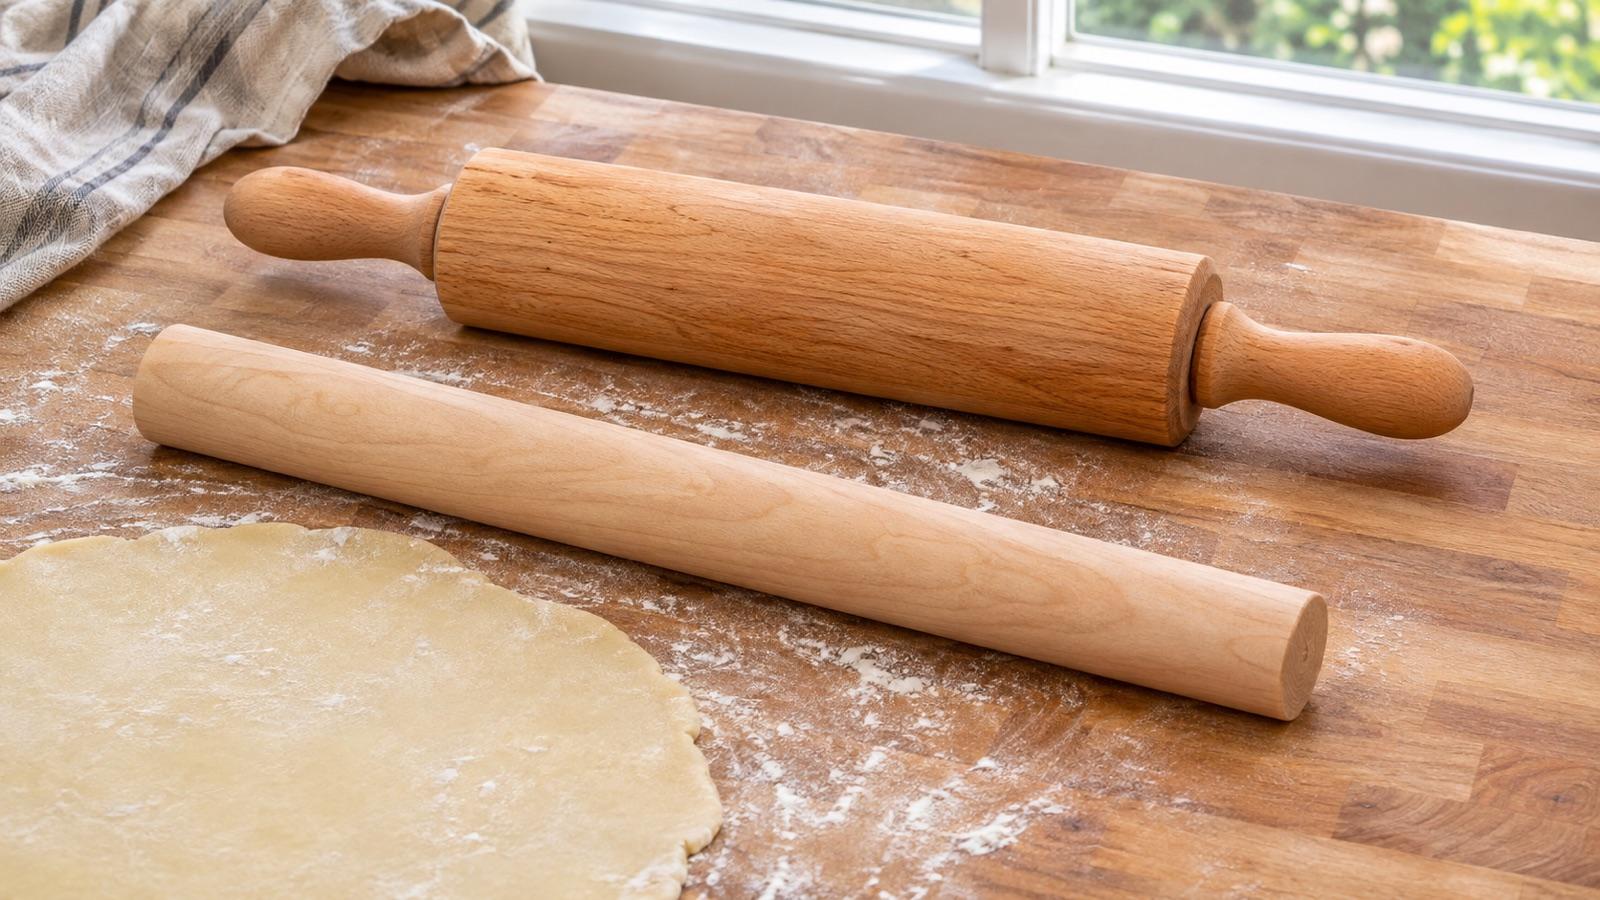
Use a straight cylinder for a wide, even sheet of cookie dough, a handled pin for regular back-and-forth strokes with your hands clear of the dough, and a tapered pin for steering a round pie crust. You can do all three jobs with the pin you already own. The difference is where you apply pressure and how often you need to turn and check the dough. Start with the shape and thickness in your recipe, then clear enough counter space to reach them.
How the three shapes press on dough
A handled pin has a grip at each end and a barrel that touches the dough. On a revolving model, the barrel turns while the handles stay in your hands. Apply similar pressure to both handles for short, steady strokes. Its working width is the length of the barrel. If the dough is wider, roll the centre and then the two sides separately, using light pressure where the strokes overlap.
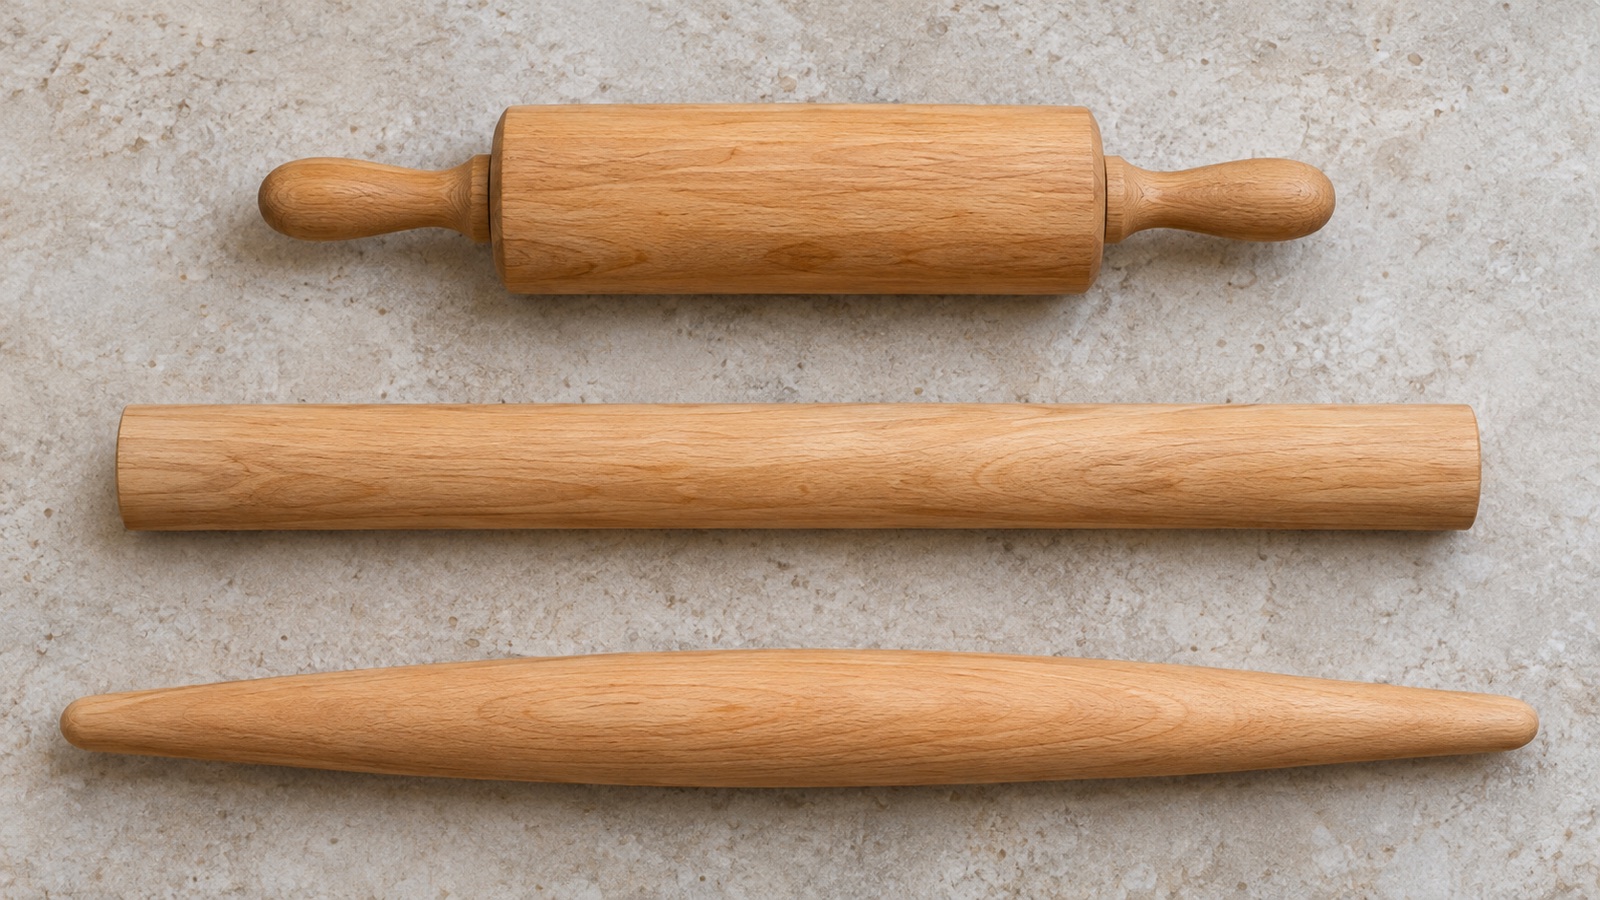
With a straight handleless pin, your palms sit on a cylinder of constant diameter. Its long contact line helps level a broad sheet. A French-style tapered pin narrows towards the ends. Bring your palms towards one side to direct pressure at a particular area and steer the pin more readily. The photograph shows the straight pin in the middle, the tapered pin below it and the barrel and grips of the handled model at the top. King Arthur Baking’s rolling pin comparison describes how these shapes performed on several doughs.
Shape the dough before rolling
Pat pie dough into a disc before the first pass. For a strip of cookie dough or a rectangular tart, flatten it into a rough rectangle with visible corners. Starting close to the final shape helps avoid stretching thin edges around a thick centre. If chilled dough splits deeply at the edges on the first stroke, give it a short rest. If buttery dough turns shiny and smears onto the pin, transfer it to a flat tray and chill it again.
Dust the counter and pin lightly as needed. After the first few strokes, lift one edge to check that the dough is moving freely. If it has caught, release it with a thin spatula before pulling at the whole sheet. A suitable cookie dough can also be rolled between two sheets of baking parchment. If the top sheet wrinkles, lift and lay it flat again.
Roll an even sheet for cookies
If the recipe calls for dough 5 mm thick, use a pair of matching 5 mm guide strips. Set them parallel outside the dough and close enough that the straight pin reaches both. Roll forward from the centre, then start again from the centre and roll back. Leave room for the dough to widen between the guides. Once the pin runs along both guides at once, extra pressure is unnecessary. For several trays, use the first sheet as a reference for the next batch. Check the guides sit flat, with no ridge of flour underneath. If you are rolling between parchment, lift the top sheet to measure and hold the ruler upright beside the dough. A good reading at one corner can hide a thick centre, so check the opposite edge and the middle before you move on.
Without guides, check the middle and several spots near the edge with a clean ruler. Give thick patches a light extra pass. Stop each stroke before running off the dough so the outer edges do not become thinner. Slide a flat spatula under cut cookies when moving them to the tray. Pulling on one edge can stretch the shape and change its thickness.
Keep a pie crust round
Make a few short strokes out from the middle of the disc. Turn the dough a quarter turn periodically and check each time that it has released from the counter. If one side is short, use a tapered pin to roll just that spot. With a straight pin, turn the short side towards you to make the same adjustment. Check the size against the base and sides of the pie dish plus any overhang the recipe specifies. Settle the dough into the corners without pulling at the rim.
Try the motion when making our classic apple pie. If the pastry hangs over generously on one side, check it reaches up the other wall before trimming. Erin Jeanne McDowell’s pie equipment guide discusses how a tapered pin lets the baker direct pie dough in several directions. For a rectangular pan, start with a rectangle and use a straight pin so you can keep the corners as you roll.
Fix what goes wrong on the first passes
If the dough stays thicker on one side, rotate it first. If a thick patch keeps forming on the same side of your work area, one hand may be pressing harder. Put your hands at equal distances from the centre and ease the pressure. With a handled pin, avoid leaning on one grip and keep both ends of the barrel level. If the dough springs back, follow the recipe’s resting instructions. Rest a buttery dough that has warmed up in the fridge.
Can one pin handle both cookies and pie? Yes. Use guides for cookies and turn the disc as you roll a pie crust. If you already own a handled pin, compare the barrel width with the size of your tray. Rolling two small pieces can be easier than making repeated overlapping passes across one large sheet.
İyi Bir Yemek
Food Researcher & Writer
Reader Comments & Contributions
Be the first to share your thoughts on this post