
How to Make Wet and Dry Caramel
Learn when to use wet or dry caramel, how to keep sugar from crystallizing, and when to stop cooking for a golden or amber finish.

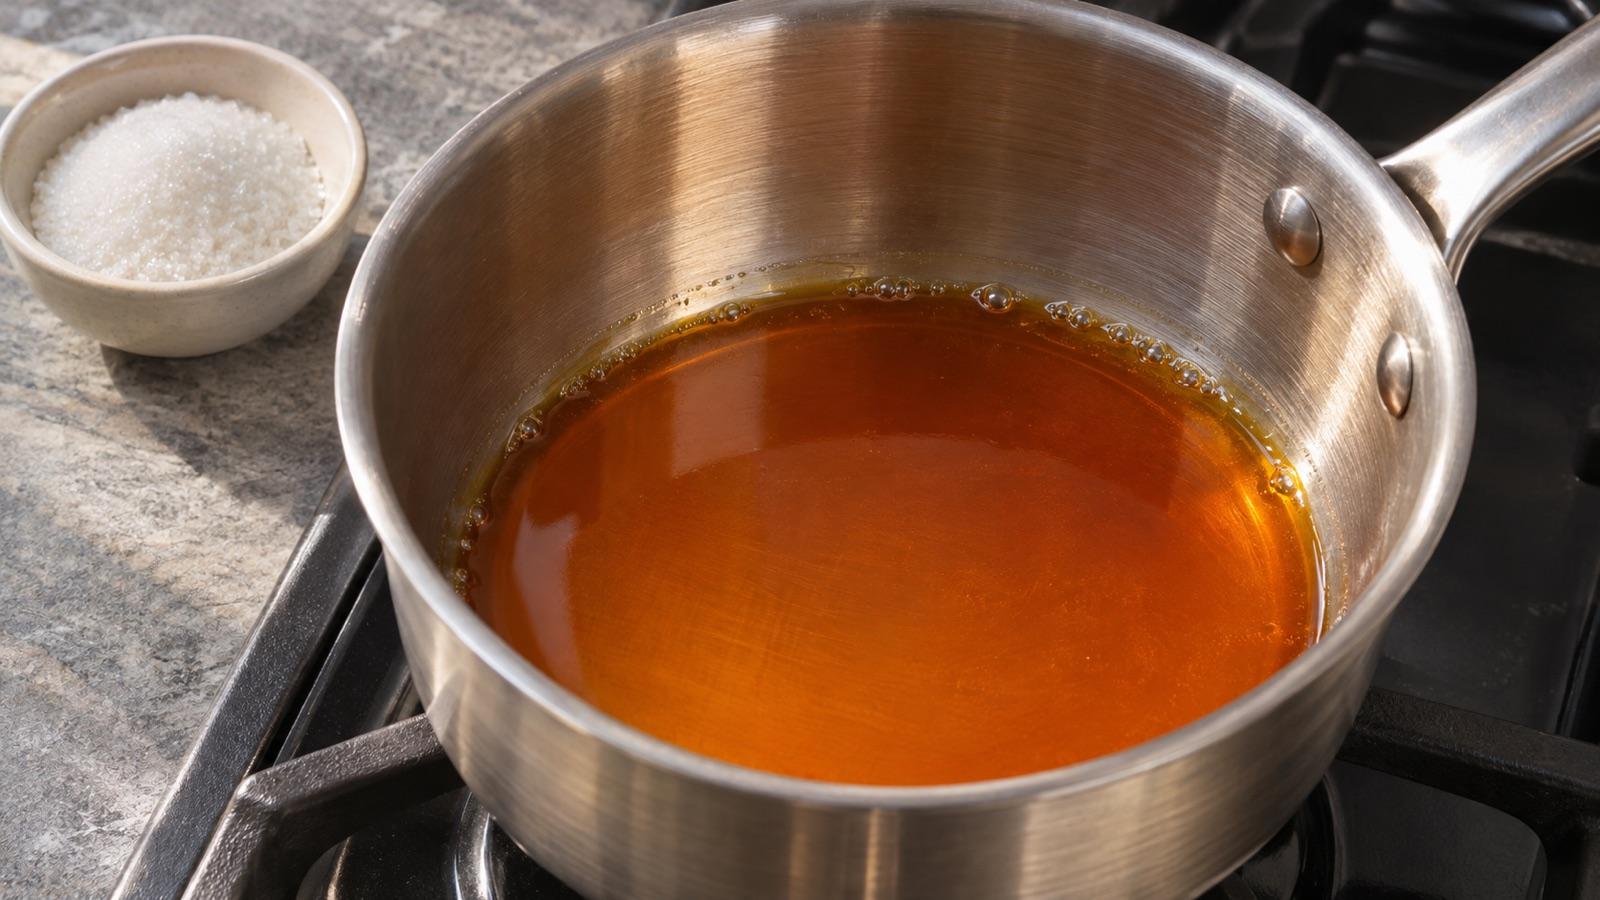
If this is your first batch of caramel, start with the wet method. Sugar dissolves in water before it browns, so it spreads more evenly across the base of the pan. Dry caramel takes less setup and can color faster, but you need to manage the difference between the melting edges and the white grains still in the center. Both methods can produce smooth caramel in the shade that suits your dessert.
When to choose each method
In wet caramel, water moistens the sugar evenly at the start. As the syrup boils, some water evaporates and the concentrated sugar begins to color. The clear bubbles you see at the start are therefore too early to judge the color. For dry caramel, the sugar melts directly on the hot base of the pan. If one corner gets dark quickly, it can turn bitter before the grains on the other side have melted.
Use the dry method when you have a wide pan that can hold a small batch in a thin layer. If you want a gentler start for caramel that will coat a mold, use the wet method. Either way, a light interior makes the final color easier to judge. Choose a heavy pan with a secure handle. Weigh the ingredients, set out the mold, and decide where the hot pan will go before you turn on the burner.
Wet caramel from clear syrup to gold
For a small comparison batch, start with 100 g of granulated white sugar and 30 g of water. In the cold pan, distribute the water over the sugar. Heat gently, moving the mixture lightly only as needed until the grains dissolve. Once the syrup comes to a boil, put down the spoon. If color develops in one spot, hold the handle and gently swirl the pan on the stove to even it out.
Dry grains on the wall can seed crystallization if they fall into the boiling syrup. If you see a few above the syrup line, lightly clean the wall with a wet pastry brush, taking care to keep syrup from splashing up the sides. Stay with the pan once the base starts to turn yellow. Evaporation, pan width, and burner power all vary, so follow the changing color instead of setting a countdown. King Arthur Baking’s caramel methods
How to melt dry sugar evenly
To compare the same amount, spread 100 g of granulated white sugar in a thin, level layer in a completely dry, wide pan. Heat on low to medium-low until small glossy patches appear at the edges. With a heatproof spatula, slowly draw dry grains into the melted areas. Keep the grains off the sides. When all the sugar is liquid, put down the spatula and gently swirl the pan if needed.
If one side is darkening while a thick white layer remains on the other, lift the pan briefly off the burner. Heat retained in the base gives the remaining grains time to melt. Turn down the burner before returning the pan. Next time, use a wider base or a smaller batch to keep the layer thin. Adjust the heat as you go and leave the pan dry throughout.
Reading the change from gold to amber
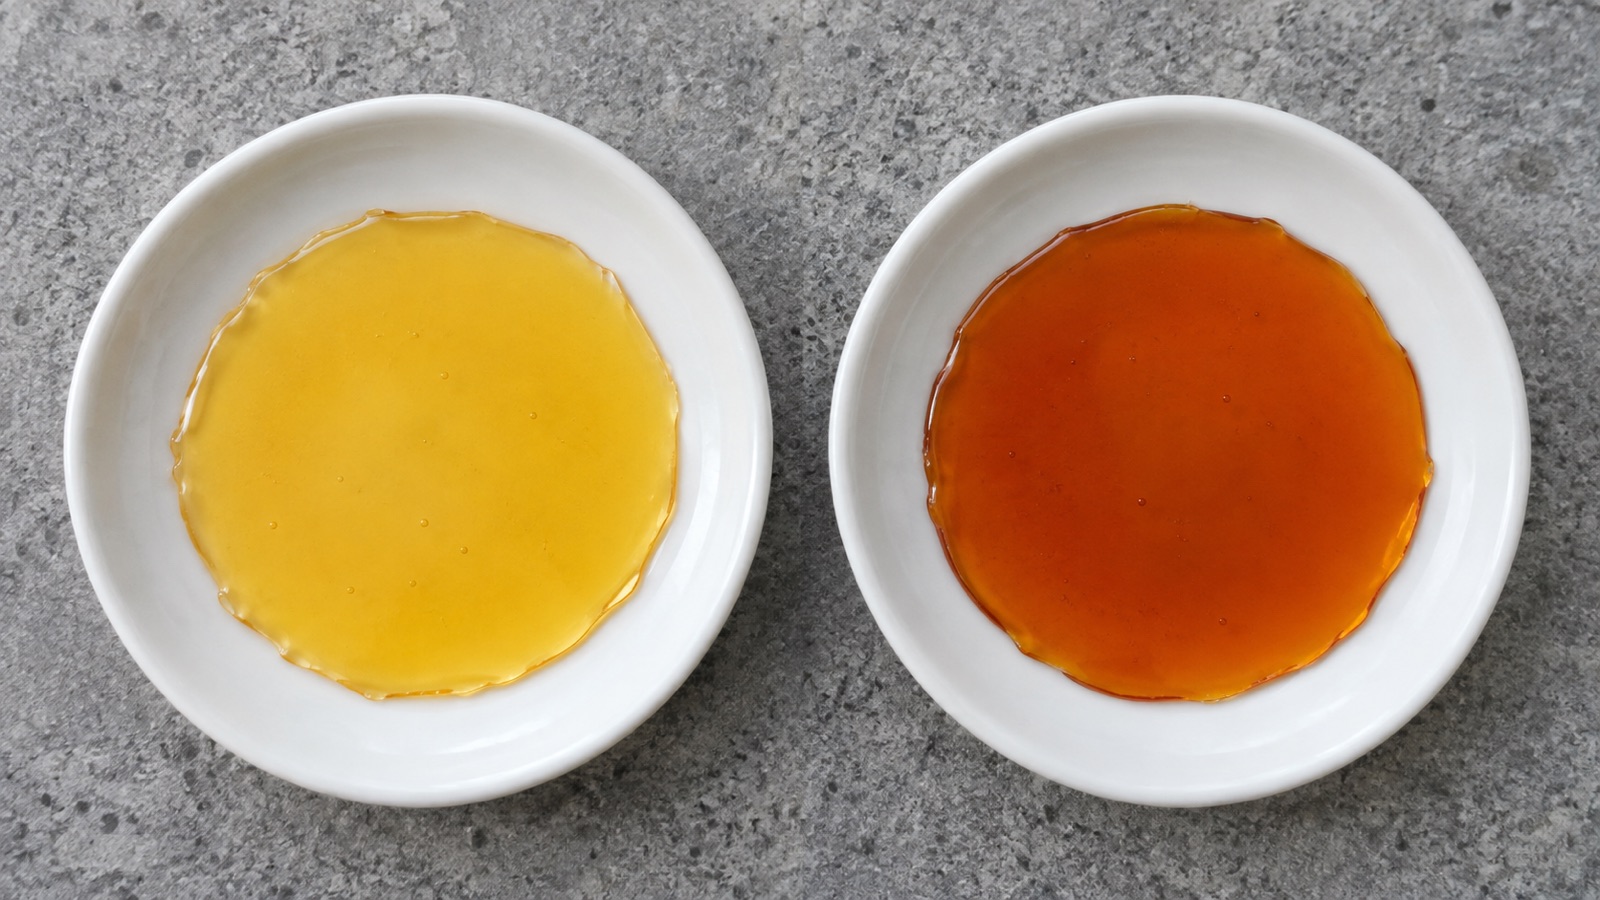
Light gold gives a milder flavor. Reddish amber brings a deeper toasted note and slight bitterness, particularly noticeable next to a milk custard. The photo shows two thin samples after cooling. A deeper pool can look darker in the pan. Look at the thinner area near the edge when deciding. A heavy base keeps giving off heat after you lift it off the burner, so stop a little before the shade you want.
For oven-baked crème caramel, coat the bottom of the mold with a thin layer. Set it on a stable, heatproof surface and pour while the caramel flows. If a few dark drops are enough to change the flavor, stop at a lighter shade next time. Plain caramel sets as it cools. For a pourable sauce, follow a sauce recipe with specified cream proportions and mixing order from the start. Keep hot caramel away from your mouth and avoid adding cold liquid to cool it. With a wide mold, tilt it gently by its handles with oven gloves right after pouring. Pushing a set layer with a spoon breaks it and makes it harder to coat the base evenly. The number of molds also matters. Coating one large mold and dividing the caramel among small ones are different jobs. Set small molds near one another with room for a gloved hand. Once you coat the first, move on while the caramel still flows. Putting the pan back on the burner will deepen the color. Let the molds cool as your custard recipe directs before adding the custard. King Arthur Baking’s flan guide
Diagnosing grains, hardening, and scorching
If boiling wet syrup suddenly turns dull and sandy, it may be crystallizing. Remove the batch from the burner and let it cool fully. Start over with a clean pan, check that the sugar dissolves at the beginning, and leave it alone once it boils. In dry caramel, white clumps are often sugar that has yet to melt. Lower the heat before the surrounding syrup darkens and gently draw the grains into the liquid with the spatula.
A glassy layer forming in the mold is plain caramel cooling. Smoke and a sharp burnt smell call for a different response. Remove the pan from the burner, let it cool on a heatproof surface, and make a fresh batch. Keep the same pan and batch size on the next attempt. That lets you compare the color at which you turned down the heat or removed the pan.
İyi Bir Yemek
Food Researcher & Writer
Reader Comments & Contributions
Be the first to share your thoughts on this post